
0. 오브젝트 풀링이란?
오브젝트 풀링은 말 그대로 객체 수영장이라는 뜻이다.
예를 들어 수 많은 오브젝트를 생성해야하는 탄막슈팅게임 (이러한 게임에서는 수 많은 총알들을 생성해야 한다...) 이나, 폭파되는 연출을 위한 파티클들을 위해 오브젝트 풀링 기법을 주로 쓴다.
오브젝트들을 생성하고 파괴하는 작업은 가비지 컬렉터 때문에 메모리 상에 많은 부하를 남기게 된다.
따라서 오브젝트 풀링 기법을 활용해서 이 부하를 최소화 하는 작업이 필요하다.
1. 오브젝트 풀링 구현 전
//2D Square에 붙일 코드
using System.Collections;
using System.Collections.Generic;
using UnityEngine;

public class Square : MonoBehaviour
{
    private void OnEnable()
    {
        StartCoroutine(DestroySquare());
    }

    IEnumerator DestroySquare(){
        yield return new WaitForSeconds(1f);
        Destroy(this.gameObject);
    }
}간단하게 2D 오브젝트(어느 모양이든 상관 없다. 다른 객체를 생성해도 되지만 편의상 Square객체를 생성했다.) 를 생성하고, 컴포넌트에 위의 코드와 2DRigidbody를 붙여주자.
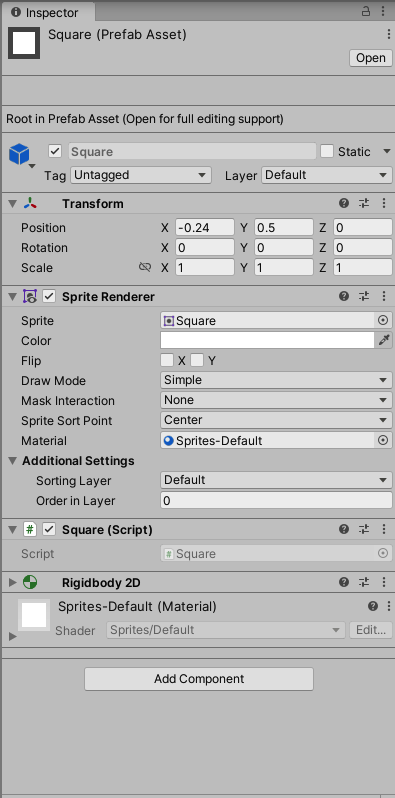
이런식으로 만들어 준 후, 프리팹화 시켜두자.
이후, 다음 코드를 작성 후, 카메라에 넣어두자
using System.Collections;
using System.Collections.Generic;
using UnityEngine;

public class CreateSquare : MonoBehaviour
{
    public GameObject squarePrefab = null;

    // Update is called once per frame
    private void Start() {
        StartCoroutine(CreateCoroutine());
    }
    IEnumerator CreateCoroutine(){
        while(true){
            yield return null;
            Instantiate(squarePrefab,
            new Vector3(this.transform.position.x, this.transform.position.y, 0f),
             Quaternion.identity);
        }
    }
}이 코드는 매 프레임마다 오브젝트를 생성하는 코드이다.
코드를 카메라에 넣어두고, 프리펩에 방금 만들었던 Square를 붙여주자.
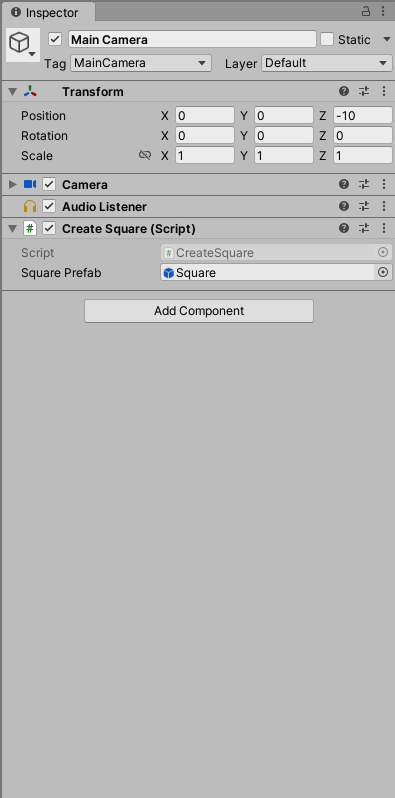
이러면 모든 준비가 끝났으니 실행시켜보자.
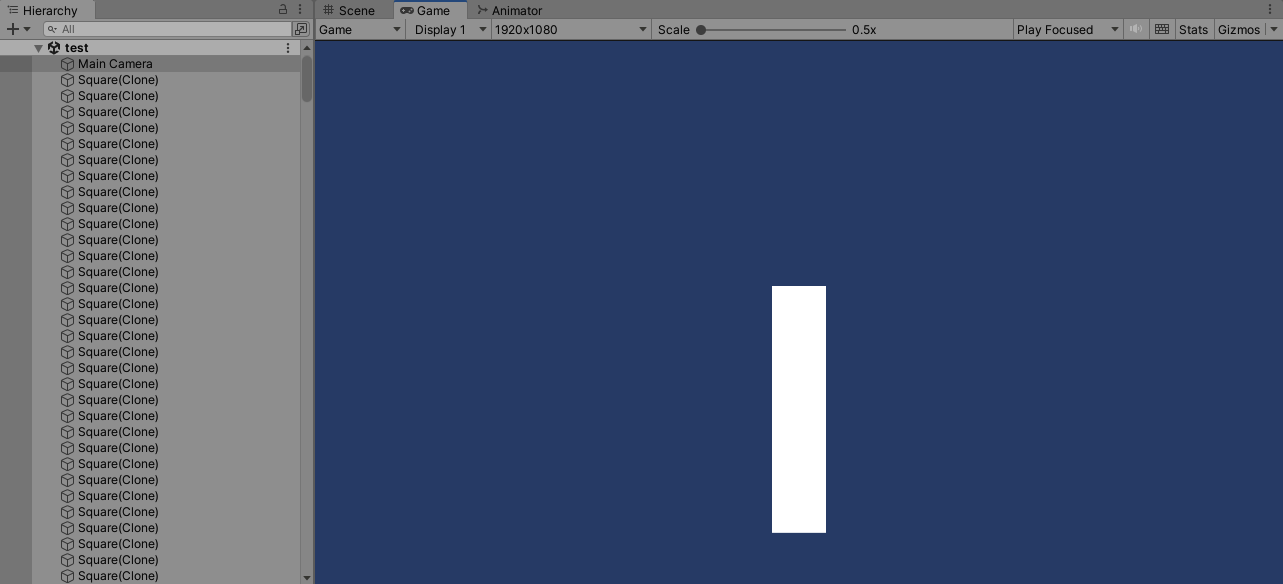
실행하게 되면, 수 많은 객체들이 매 프레임마다 생성되고, Rigidbody2D 컴포넌트 때문에 오브젝트가 한없이 밑으로 떨어지다가, 1초 후 삭제될 것이다.
이런식으로 코드를 구현하면 프레임 드랍 뿐만 아니라 가비지 컬랙터에 의해 수 많은 메모리 낭비가 이루어지게 된다.
2. 오브젝트 풀링 구현
ObjectPoolingManager를 작성하자.
using System.Collections;
using System.Collections.Generic;
using UnityEngine;

public class ObjectPoolingManager : MonoBehaviour
{
    public static ObjectPoolingManager instance;

    [SerializeField] GameObject squarePrefab;

    public Queue<GameObject> squareQueue = new Queue<GameObject>();
    // Start is called before the first frame update
    void Start()
    {
        if(instance == null){
            instance = this;
        }

        //오브젝트를 미리 생성 후 queue에 저장. 필요한 갯수를 미리 넉넉하게 생성하자.
        for(int i = 0; i < 2000; i++) {
            GameObject square = Instantiate(squarePrefab,
            new Vector3(this.transform.position.x, this.transform.position.y, 0f),
            Quaternion.identity);

            square.SetActive(false);
            squareQueue.Enqueue(square);
        }
    }

    public void InsertQueue(GameObject _square){
        squareQueue.Enqueue(_square);
        _square.SetActive(false);
    }

    public GameObject GetQueue(){
        GameObject _square = squareQueue.Dequeue();
        _square.SetActive(true);
        return _square;
    }

}미리 Queue에 오브젝트를 생성해 저장 한 후, 비활성화를 시켜둔다. 필요할때마다 꺼내서 쓰기 위해 InsertQueue와 GetQueue함수를 선언해줬다.
(오브젝트 풀링의 개념에서 핵심 코드이다. 이 스크립트를 작성하여 여러군데 써 먹을 수 있다.)
그 후, CreateSquare스크립트를 수정하자.
using System.Collections;
using System.Collections.Generic;
using UnityEngine;

public class CreateSquare : MonoBehaviour
{
    // Update is called once per frame
    private void Start() {
        StartCoroutine(CreateCoroutine());
    }
    IEnumerator CreateCoroutine(){
        while(true){
            yield return null;
            GameObject square = ObjectPoolingManager.instance.GetQueue();
            square.SetActive(true);
            square.transform.position = Vector3.zero;
        }
    }
}ObjectPoolingManager에서 만들어 둔, GetQueue함수로 이미 만들어져있는 오브젝트를 활성화 시켜서 쓴다.
활성화 했을 때, 오브젝트가 다른 위치에 있을것이기 때문에 원점으로 변환시켜준다.
(필요없는 Instantiate함수에 들어갈 프리펩 변수를 삭제했다.)
using System.Collections;
using System.Collections.Generic;
using UnityEngine;

public class Square : MonoBehaviour
{
    private void OnEnable()
    {
        //비활성화 됐을때, 중력의 영향을 계속 받기 때문에 힘을 0으로 만들어 준 뒤 비활성화
        this.GetComponent<Rigidbody2D>().velocity = Vector3.zero;
        StartCoroutine(DestroySquare());
    }

    IEnumerator DestroySquare(){
        yield return new WaitForSeconds(1f);
        ObjectPoolingManager.instance.InsertQueue(this.gameObject);
    }
}Square코드에서도, 파괴하는 작업을 미리 만들어둔 InsertQueue 함수로 대체한다.
이렇게 되면 파괴가 아니라 오브젝트를 비활성화 하게 된다.
이후, 카메라에 ObjectPoolingManager를 붙여둔 뒤, 프리펩을 붙여넣고 실행하면 다음과 같다.
미리 생성해둔 오브젝트가 꺼졌다 켜졌다 하면서 계속 생성되고 있는것 처럼 보여지게 된다.
사실 오브젝트 풀링 기법이 미리 생성되어있는 물체를 껏다 켯다 하면서 보여주는 기법이라고 생각하면 쉽다.
위의 예시는 간단하게 구현한 코드이지만, 다른 게임에도 위와 같은 개념을 사용하면 더 그럴싸하게 보일 것 같다.
'Develop > Unity' 카테고리의 다른 글
| [Unity] 멀티 플레이를 위해 포톤을 연동하자!(Photon) - 0. 기본설정과 가입방법 (0) | 2023.12.09 |
|---|---|
| [Unity] 로그라이크 맵 생성하기 (배열) (0) | 2023.11.29 |
| [Unity] 유니티 멀티플레이를 위한 통신 구현 (Unity Mirror) (3) | 2023.11.21 |
| [Unity] 씬 로딩 시 start함수의 동작 (0) | 2022.01.12 |
| [Unity] 플레이어 카메라 안에 가두기 (WorldToViewportPoint, ViewportToWorldPoint) (0) | 2022.01.06 |